---
title: HowTo:設定 NTP 自動校時 | zh
tags: HowTo, VCS, ZH
GA: UA-155999456-1
---
{%hackmd @docsharedstyle/default %}
{%hackmd @docsharedstyle/twccheader-zh %}
# 設定 NTP 自動校時
以下說明如何設定虛擬運算個體的特定時區,讓個體能自動校時:CentOS 的個體以原生命令設定時區; Ubuntu 的個體則以外部校時伺服器設定。
### CentOS 虛擬運算個體
- Step 1. 連線進入虛擬運算個體
- Step 2. 輸入以下指令,將時區設定為台灣時區
```bash=
sudo timedatectl set-timezone Asia/Taipei
```
- Step 3. 輸入以下指令,查詢虛擬個體的時區
```bash=
date
```

### Ubuntu 虛擬運算個體 (18.04 版本)
- Step 1. 連線進入虛擬運算個體
- Step 2. 輸入以下指令,更新套件
```bash=
sudo apt-get update
```
- Step 3. 輸入以下指令,安裝 NTP 套件
```bash=
sudo apt-get install -y ntp
```
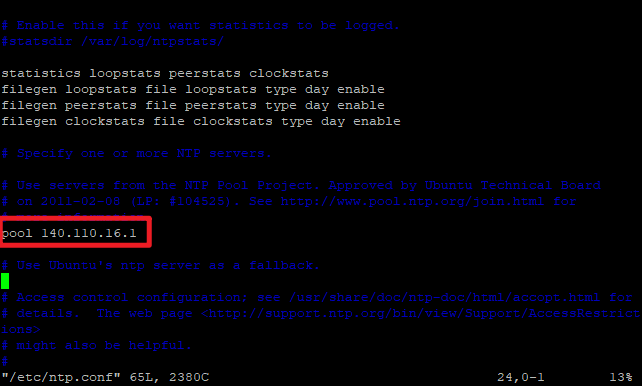
- Step 3. 輸入以下指令,修改設定檔 :arrow_right: 再鍵入「i」進入編輯模式,將會看到以下畫面
```bash=
sudo vim /etc/ntp.conf
```
:arrow_right: 將以下紅框空內容,在最前方輸入「#」隱藏一筆預設資料
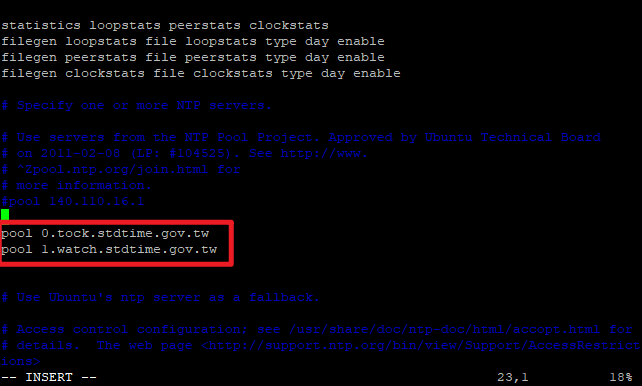
:arrow_right: 並在下方依相同格式,輸入外部 NTP 伺服器 :arrow_right: 輸入完成後按下「esc」鍵離開編輯模式 :arrow_right: 輸入「:wq!」存檔離開
- Step 4. 輸入以下指令重啟 NTP,以更新設定
```bash=
sudo systemctl restart ntp
```
### Ubuntu 虛擬運算個體 (16.04版本)
- Step 1. 連線進入虛擬運算個體
- Step 2. 輸入以下指令,安裝 NTP 套件
```bash=
sudo apt-cache policy ntp
sudo apt install -y ntp=1:4.2.8p4+dfsg-3ubuntu5
```
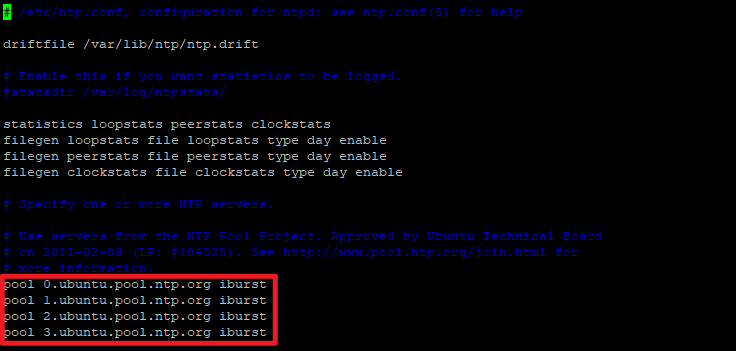
- Step 3. 輸入以下指令,修改設定檔 :arrow_right: 再鍵入「i」進入編輯模式,將會看到以下畫面
```bash=
sudo vim /etc/ntp.conf
```
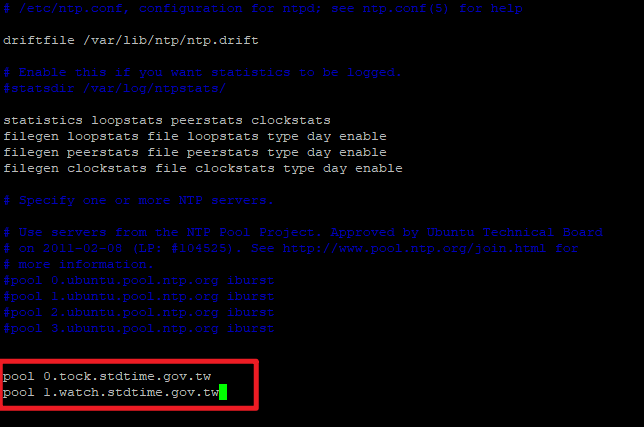
:arrow_right: 將以下紅框空內容,在最前方輸入「#」,隱藏四筆預設資料
:arrow_right: 並在下方依相同格式,輸入外部 NTP 伺服器 :arrow_right: 輸入完成後按下「esc」鍵離開編輯模式 :arrow_right: 輸入「:wq!」存檔離開
- Step 4. 輸入以下指令重啟 NTP,以更新設定
```bash=
sudo systemctl restart ntp
```