---
title: Cloud Object Storage
tags: Guide, COS, EN
GA: UA-155999456-1
---
{%hackmd @docsharedstyle/default %}
# Cloud Object Storage (COS)
TWCC Cloud Object Storage service provides an object storage system that is compatible with Amazon S3. Users may upload files from local computers to TWCC Cloud Object Storage system and connect them to container service to be operated on by AI computing.
## Managing Cloud Object Storage
Managing cloud object storage buckets, including creating, searching, deleting an object storage bucket, uploading files, or setting up notifications.
### Creating a bucket
* Select "Cloud Object Storage" from the service list, enter the cloud object storage management page, and click "+CREATE".
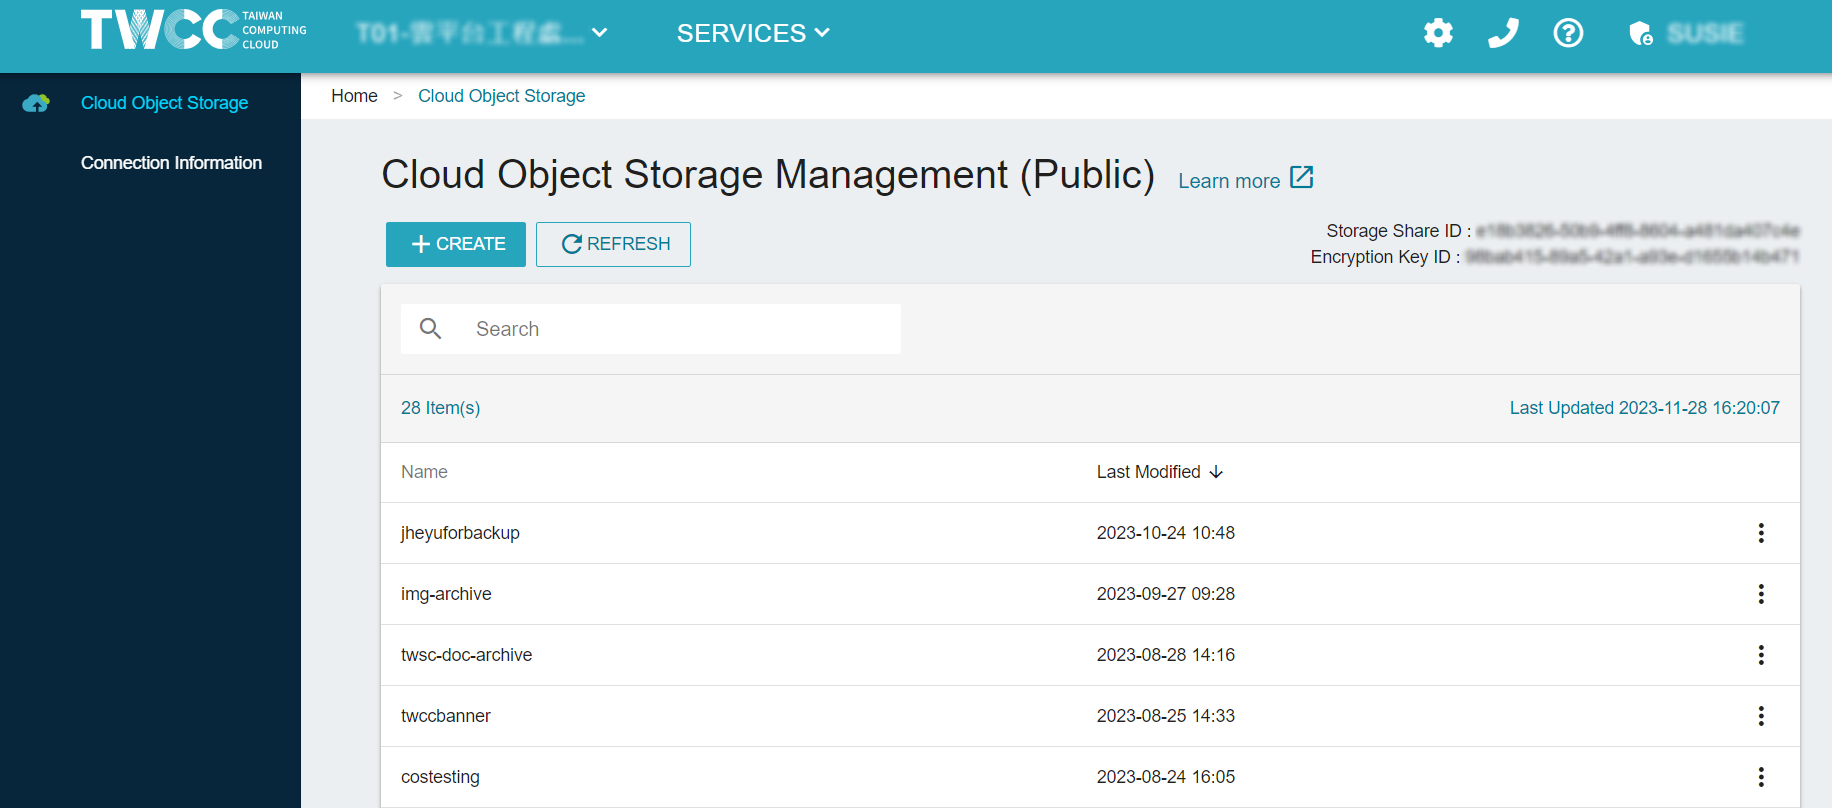
* Enter the name of the bucket and click "OK". Please note that the name of the bucket must be unique. It must be between 1 and 16 characters of English letter or digits. The first character must be a letter.
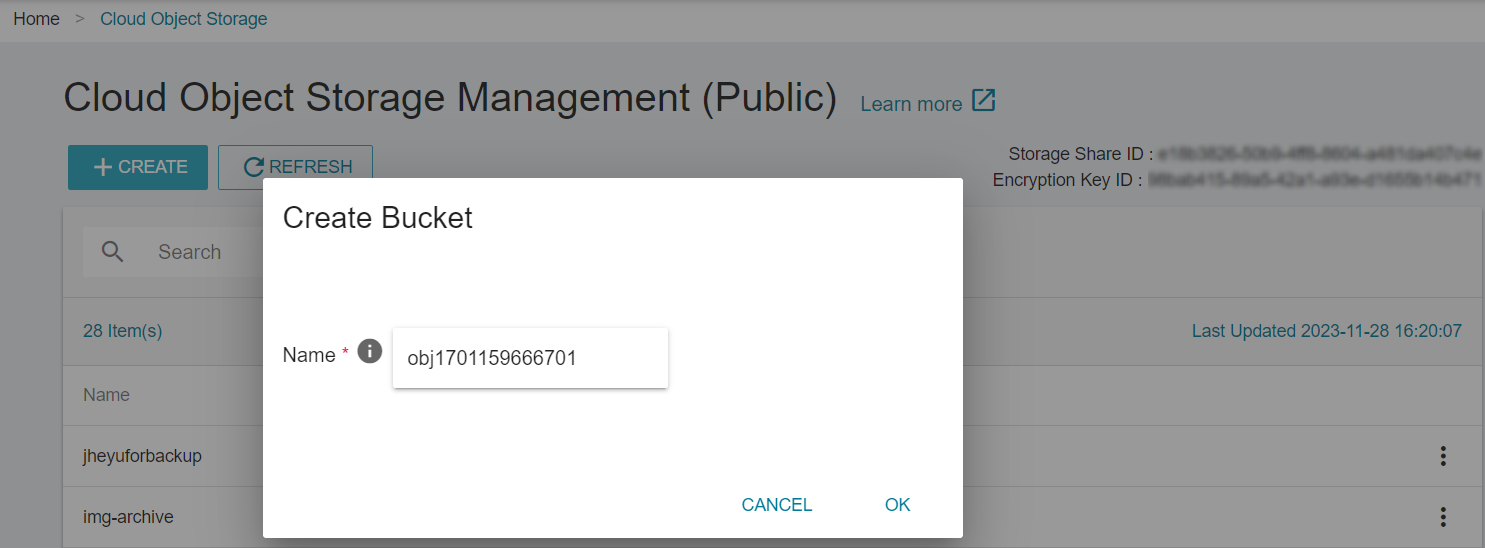
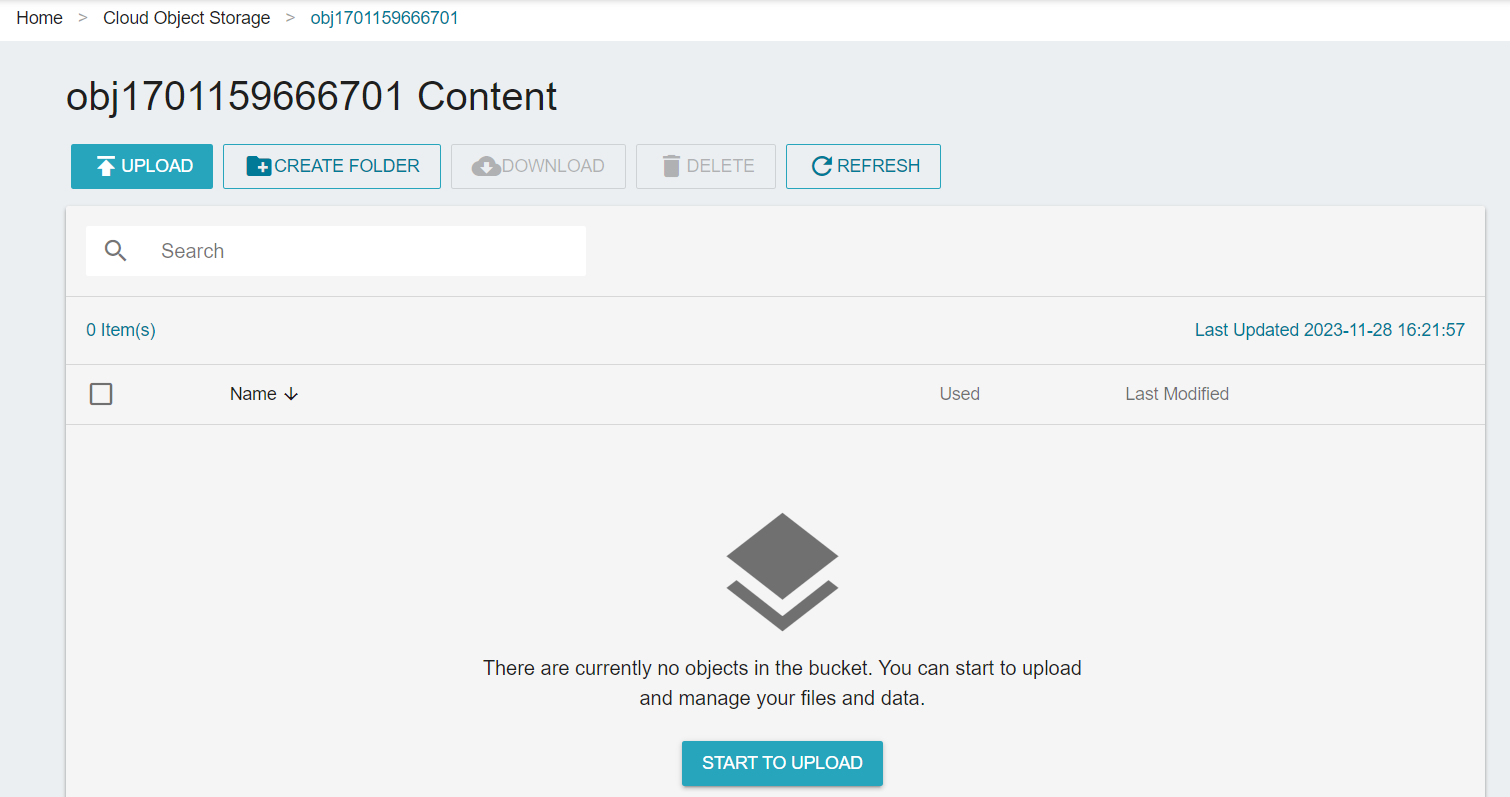
* When the bucket is created, it will show on the top of the list. Click the list to enter the bucket details page and begin to use it.
### Deleting buckets
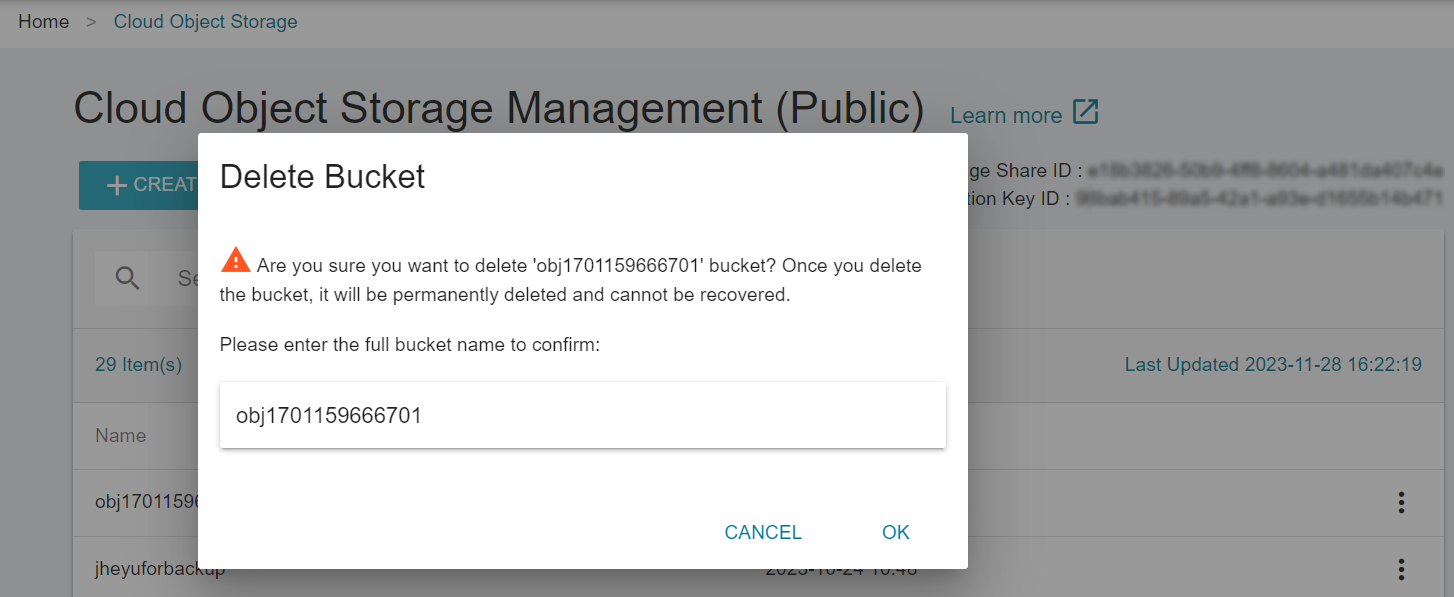
* To delete an unneeded buckets, click <i class="fa fa-ellipsis-v fa-20" aria-hidden="true"></i> menu button and click "Delete" after the bucket list.

* Once the bucket is deleted, all the data in the bucket will be deleted and cannot be restored. To avoid accidental deletion, you must enter the name of the bucket to confirm.
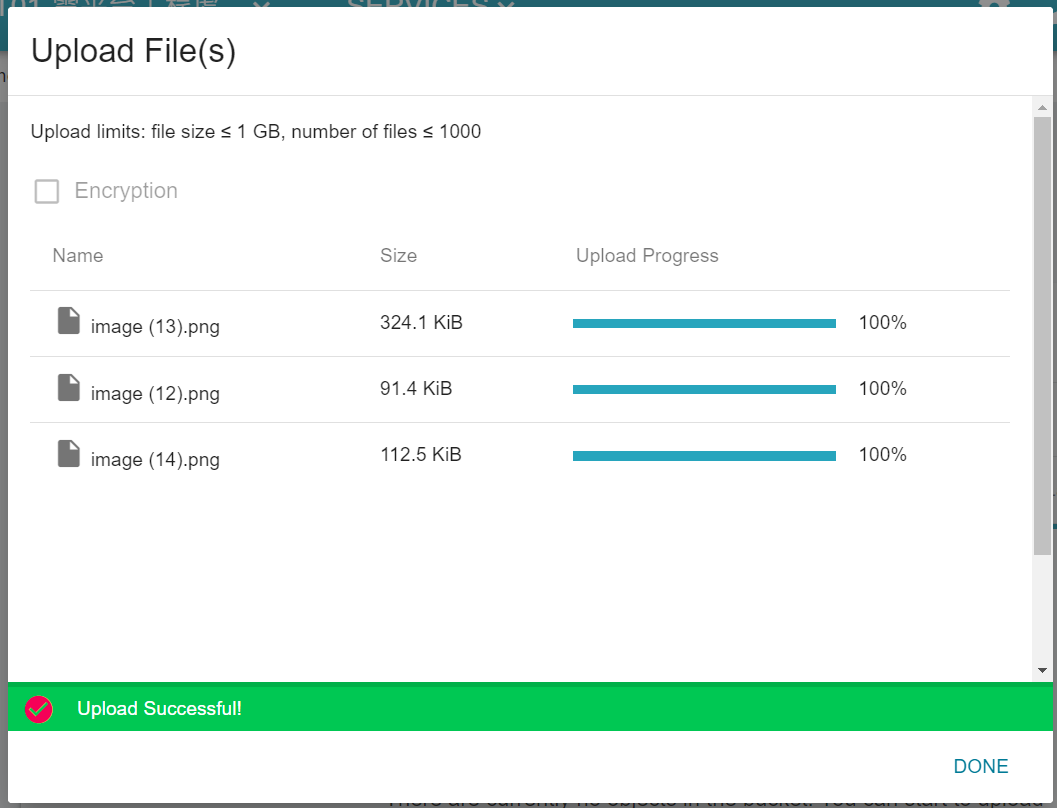
### Uploading files
* On the bucket details page, click “Upload”.
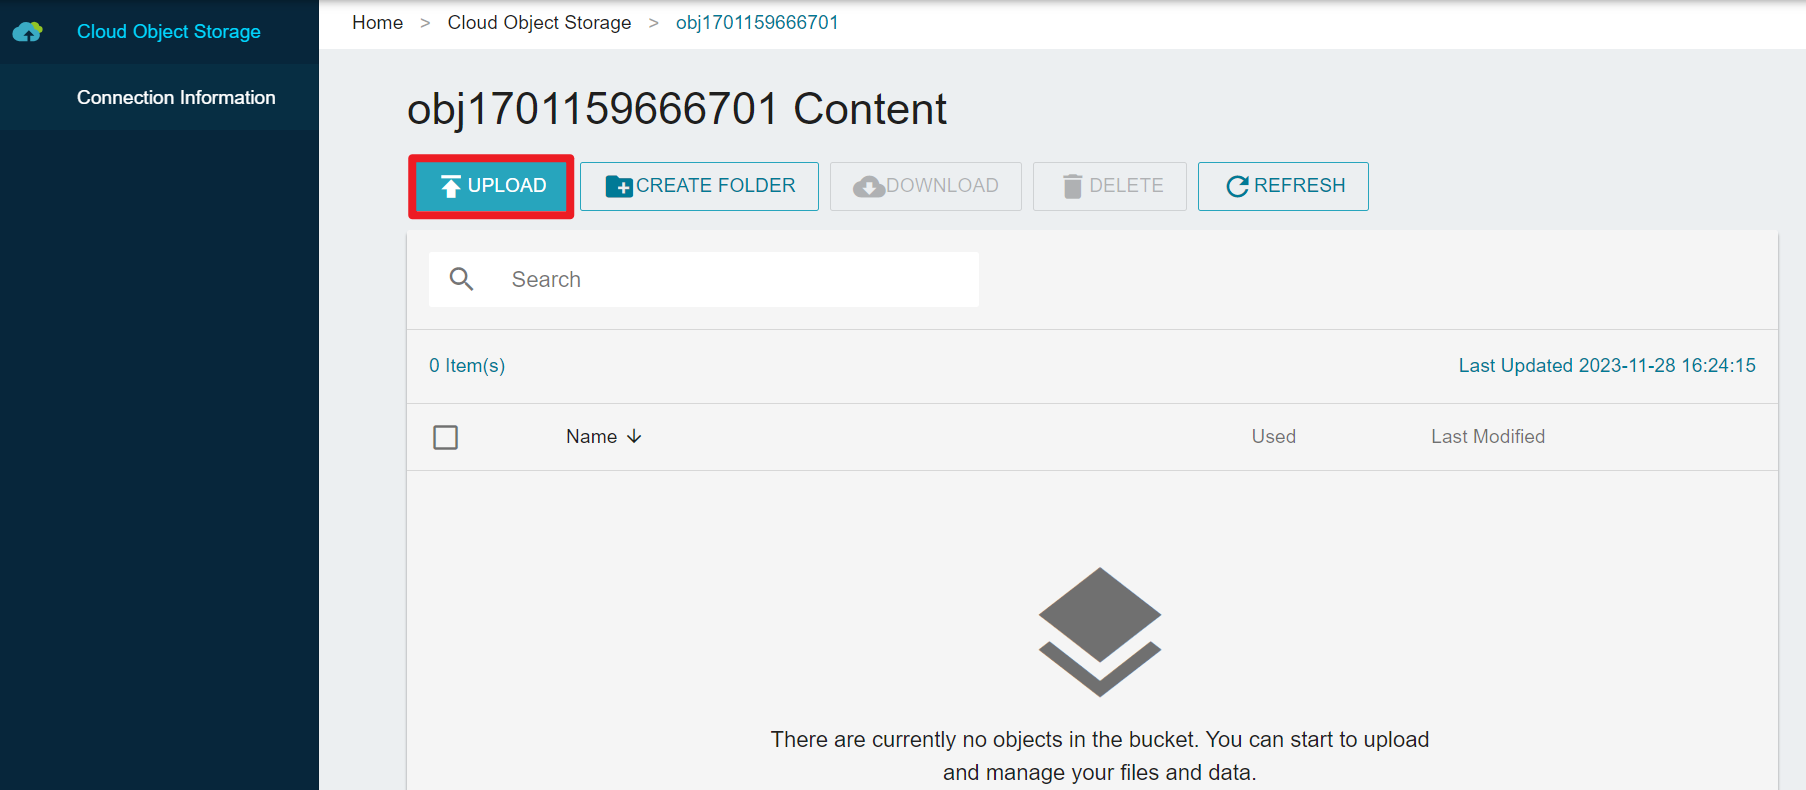
* When the upload window appears, you may dop the files here or click “Select files”.

* After files have been selected, click “Upload”.
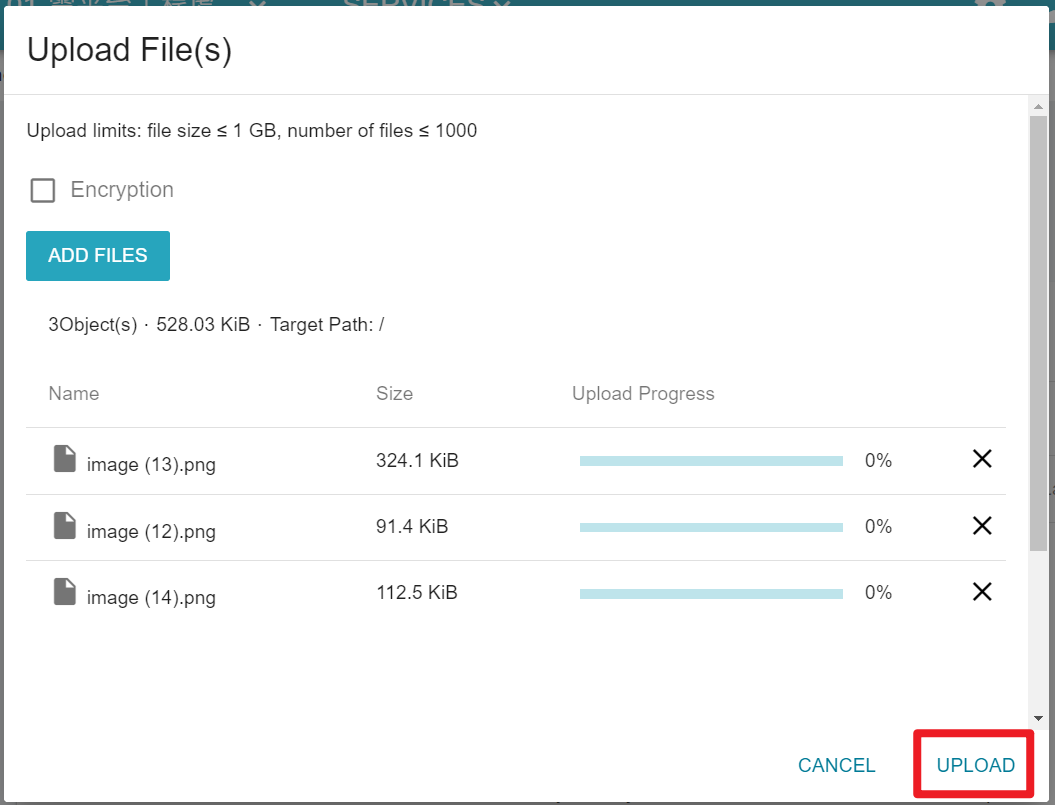
* After a message showing the completion of the upload, click “DONE”.
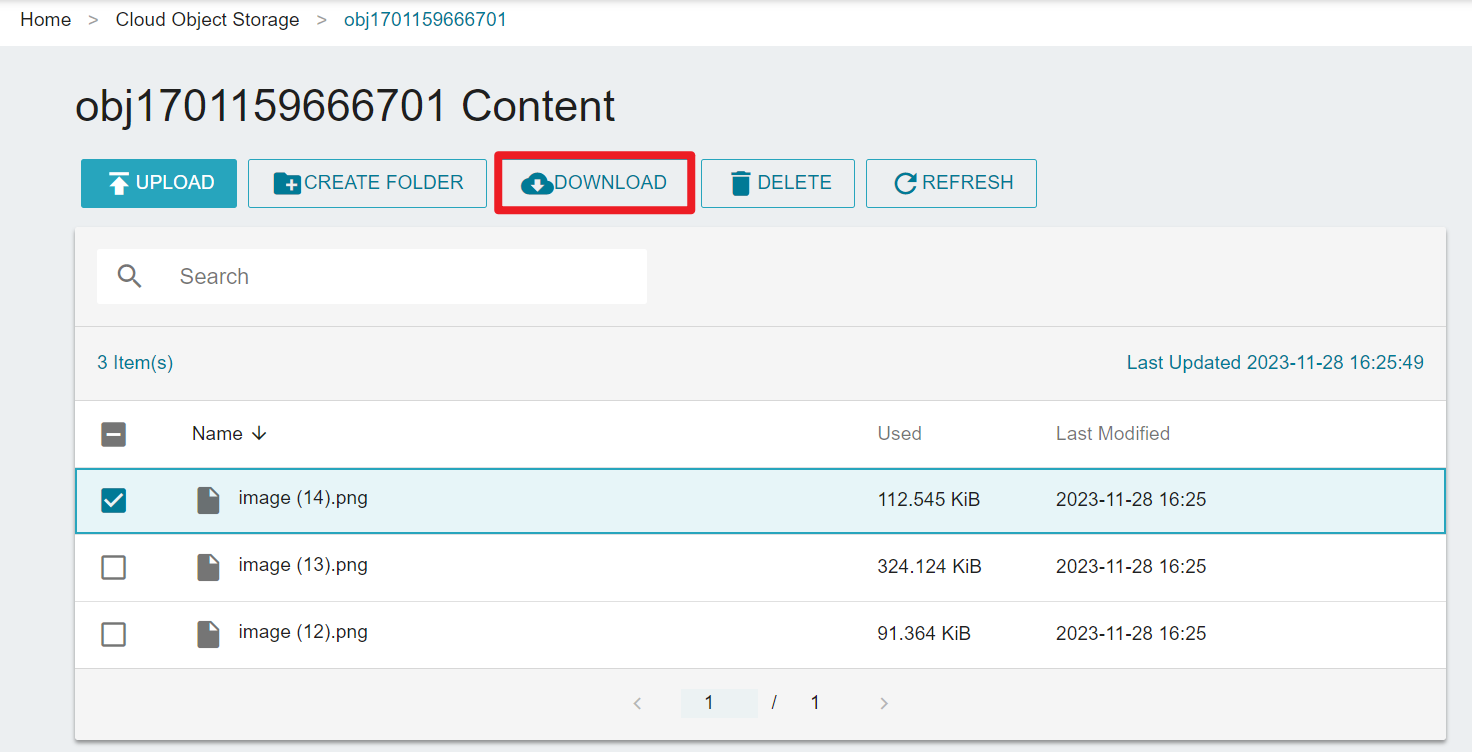
### Downloading files
* On the bucket details page, select the file you want to download and click the "Download" button at the top of the list.
:::info
Presently, you can download one file at a time. If you wish to download multiple files, you may use Third-party software to do so.
:::
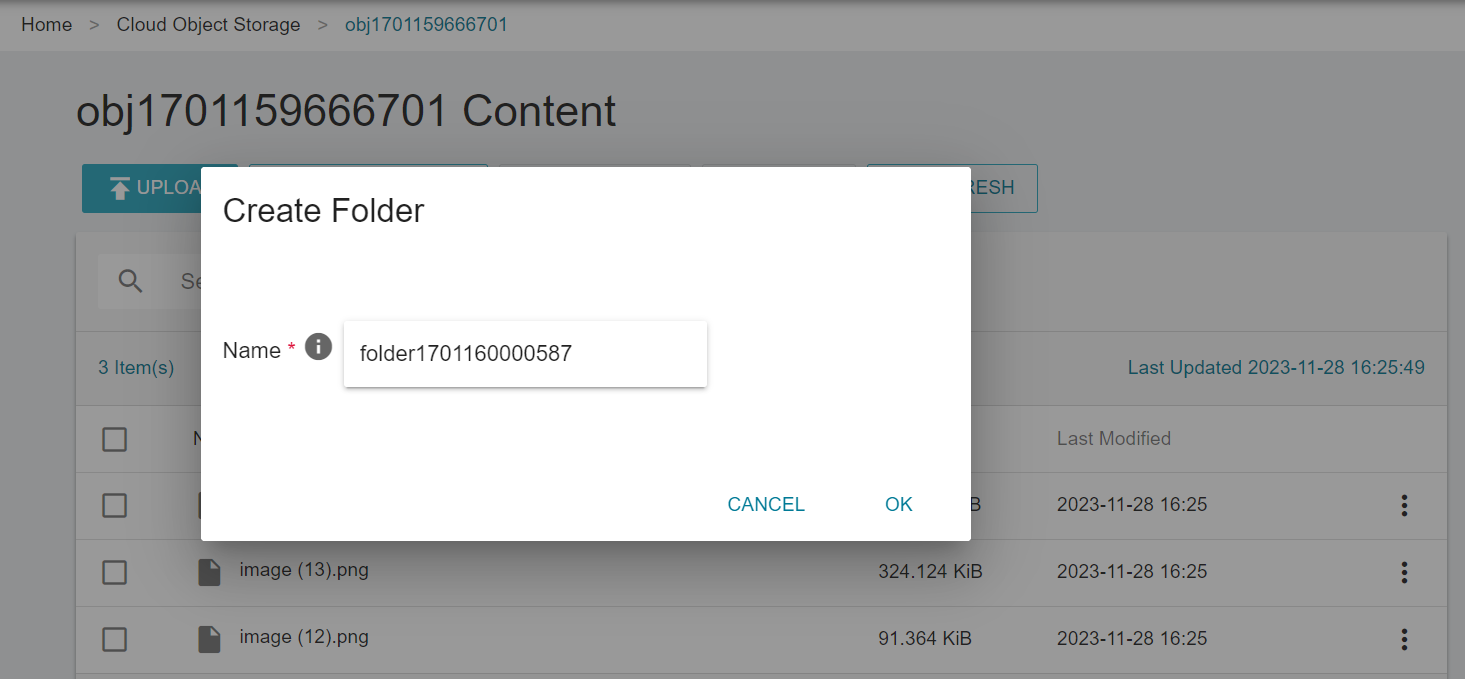
### Creating folders
* On the bucket details page, click "Create Folder", imput the folder name and click "OK".
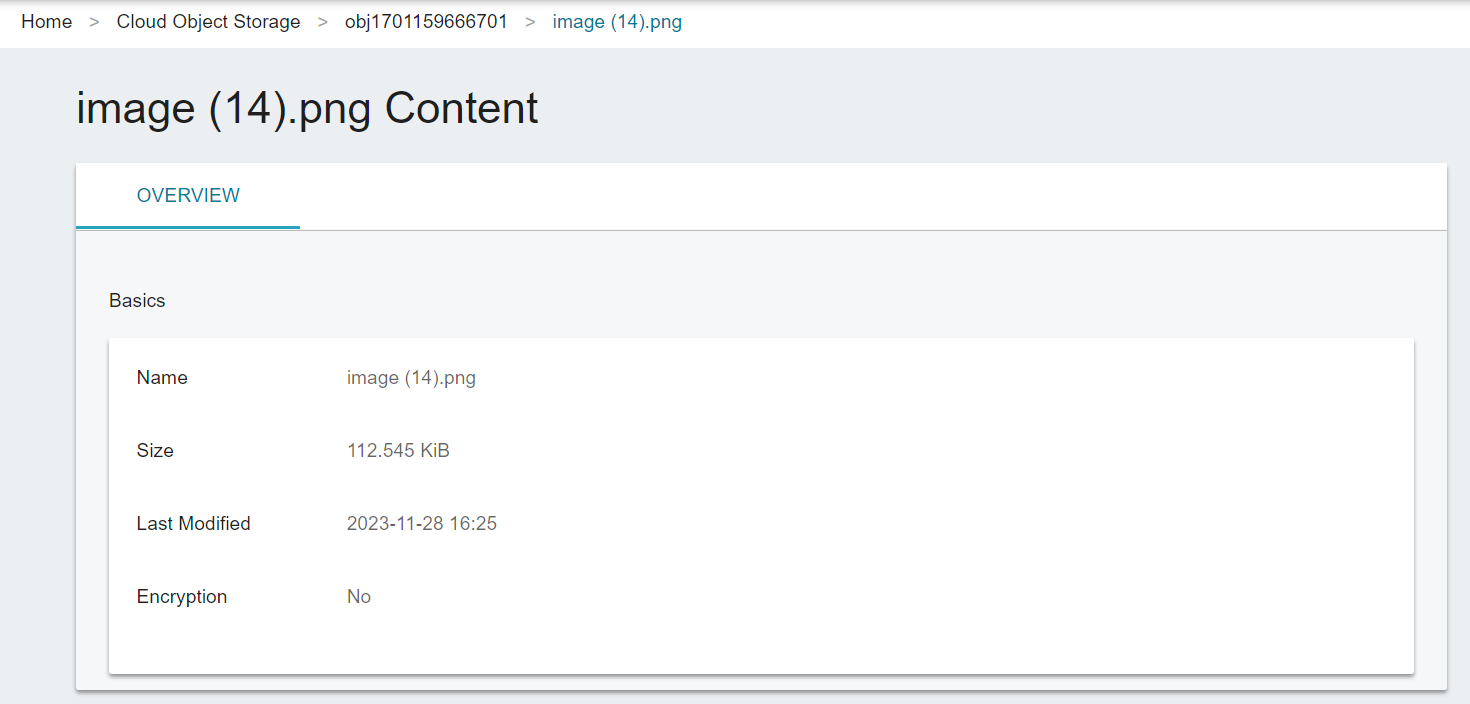
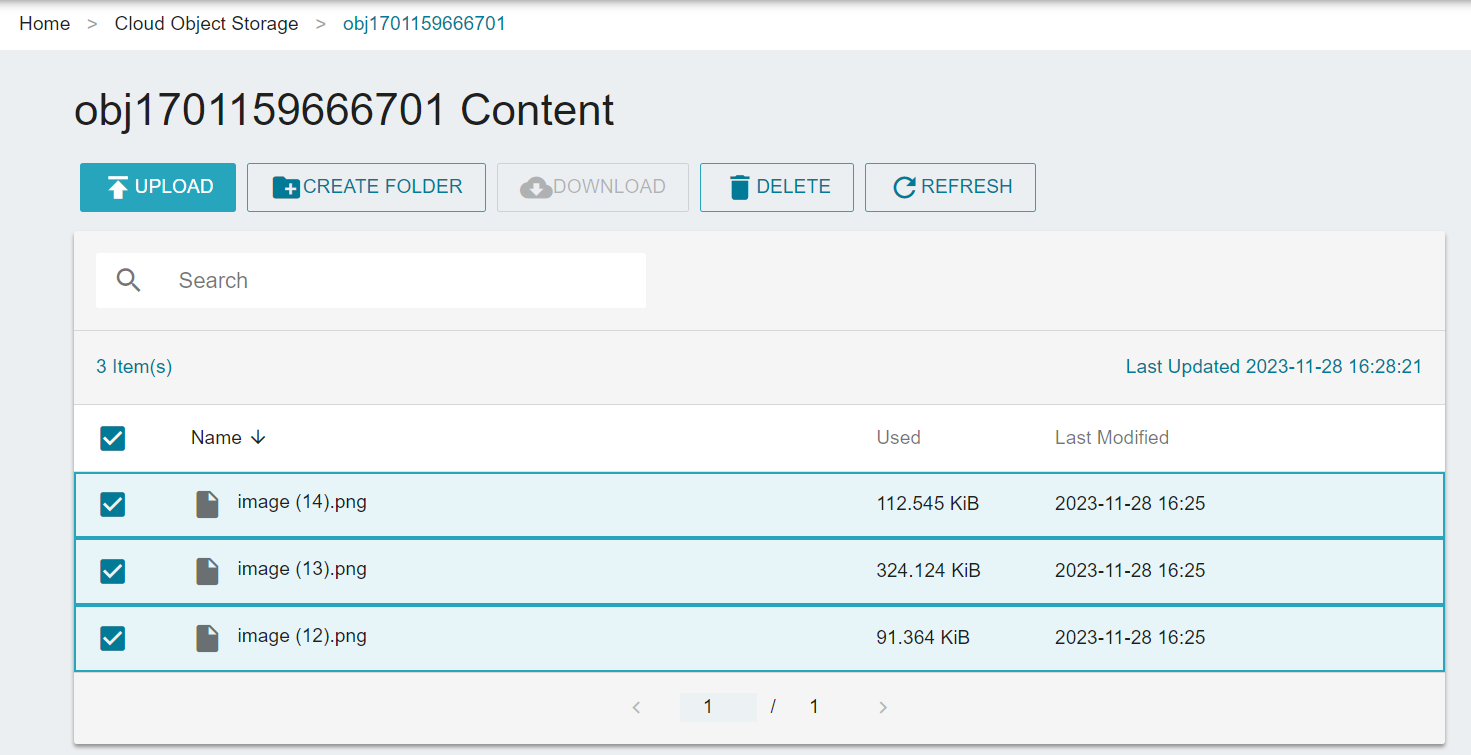
### Viewing file details
* On the bucket details page, click on the file you want to view.

* You can see the basic information of the file after entering the file details page.
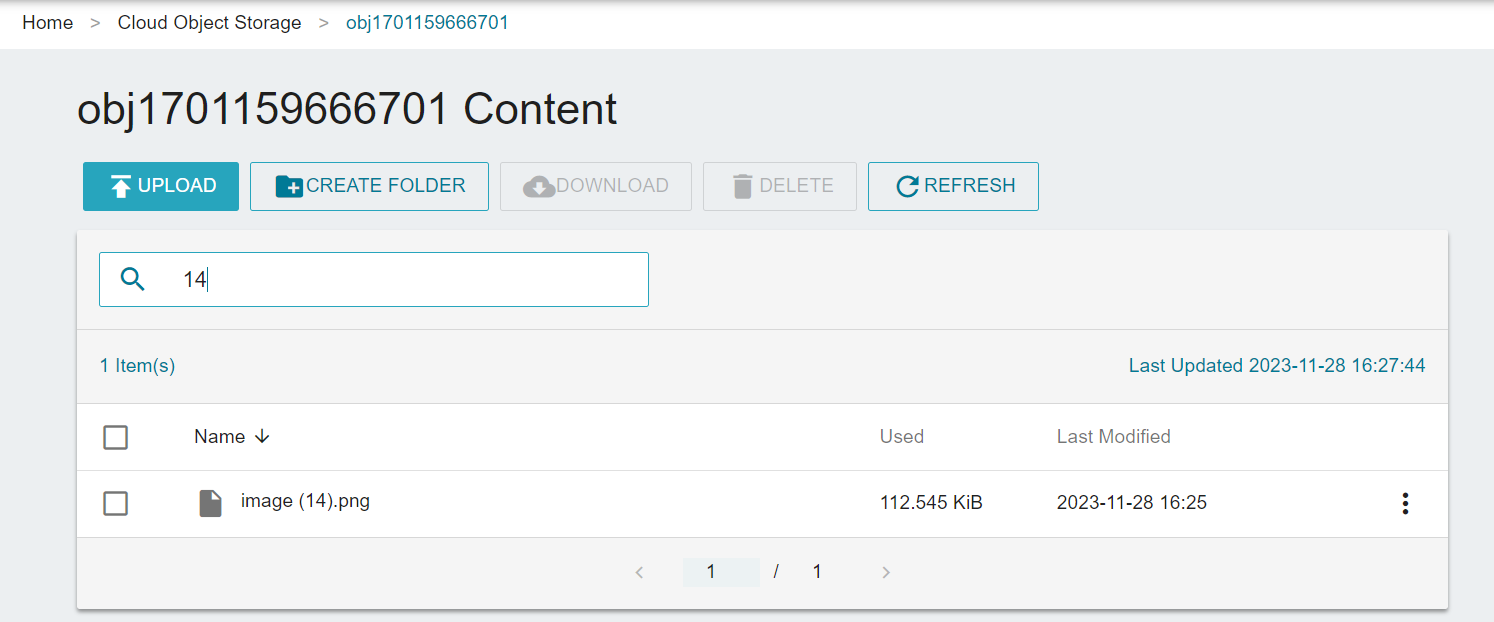
### Searching for files
TWCC Cloud Object Storage provides two ways to search for files: A general search box and an advanced metadata search unique to the bucket.
* Enter the keyword you want to find in the "Search" box to automatically filter the results of all the list fields to meet the criteria.
<!-- ### Advanced METADATA Search
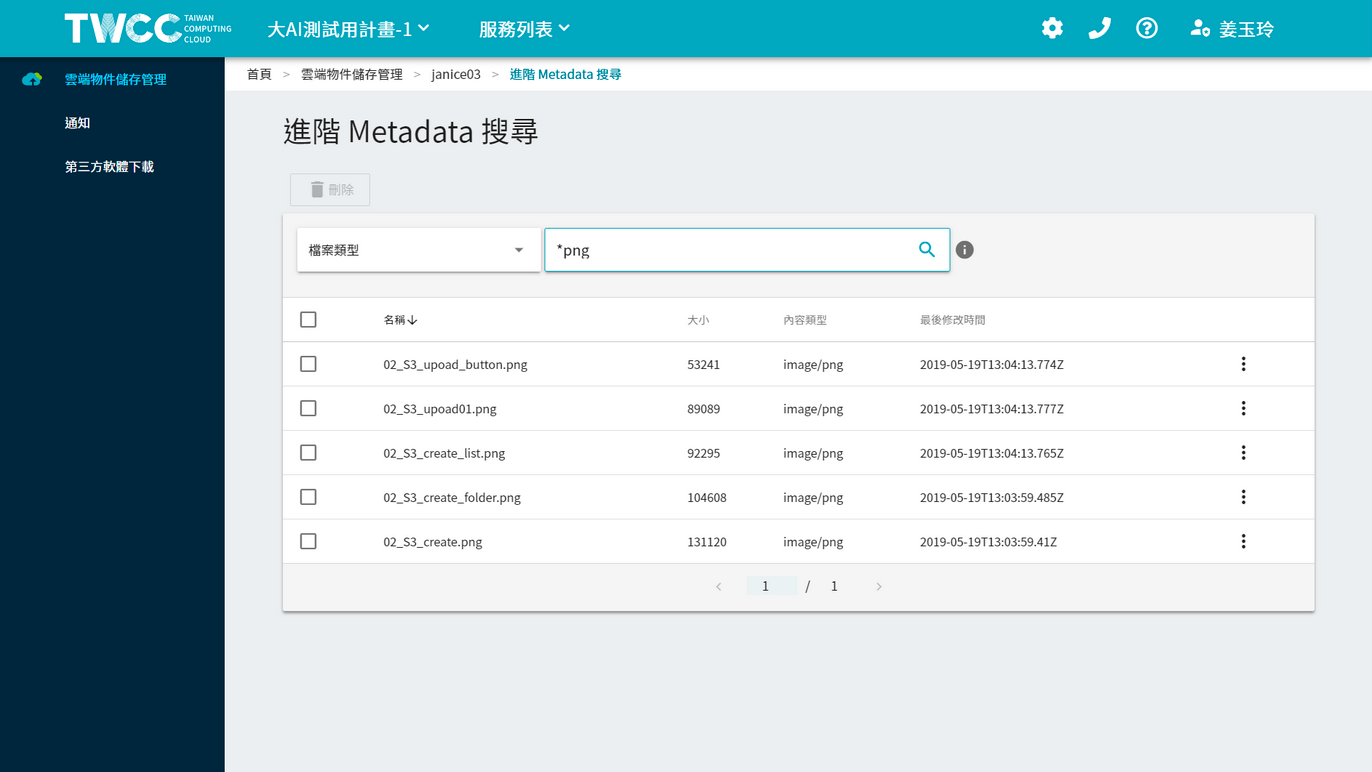
* Click "Advanced METADATA Search" on the bucket details page.

* METADATA search function can quickly search the files in the bucket according to the file name, type, file size, modification time, eTag and custom Metadata criteria.
* Click on the drop-down menu to select the conditions for the query, and then enter the format of the condition as prompted below.
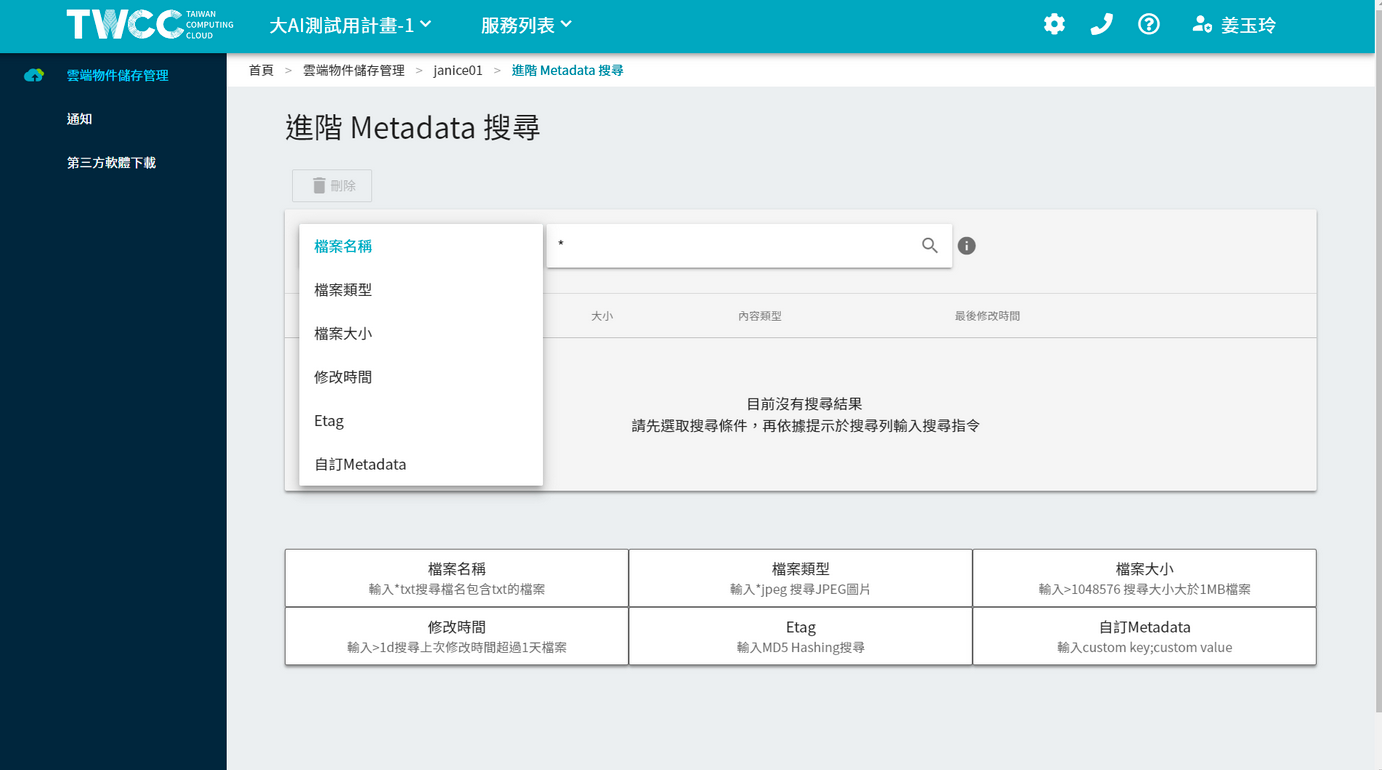
* For example, search for files with a file type of PNG.
 -->
### Deleting files
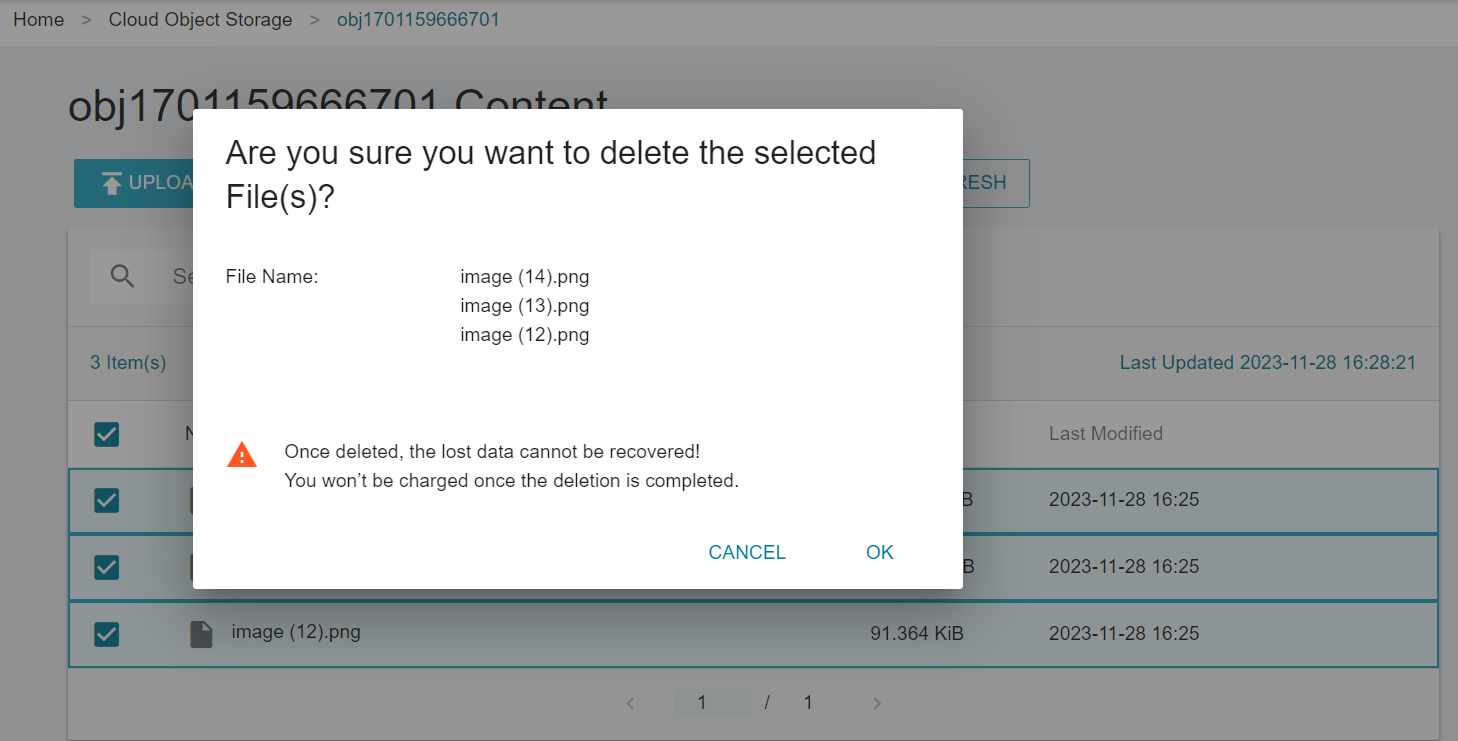
* Delete unnecessary files to save storage space, click on the file list <i class="fa fa-ellipsis-v fa-20" aria-hidden="true"></i> Menu button, click "Delete". You can also click on the checkbox to select multiple files, then click on "Delete" above.
* Once again, make sure the file you want to delete is correct. Once the file is deleted, it will not be restored.
<!-- ## Notification
The cloud object storage notification provides a notification subscription service for the events of the bucket. The "Queue" provides a message storage service. Users can obtain the queue information when they need it. The "Topic" provides the event notification service. When the system detects the operation event of the storage, it will send a notification to the URL user provided.
### Create a queue
* Go to the notification page of the Cloud Object Storage Service and click "Create".
* Enter the name of the queue and click "Create".
* The request ID and URL will be displayed below the queue.
* Click "Notification" on the left to return to the notification page. The newly created queue will appear at the top of the list.

### Associate with bucket
* Then click "bucket" to configure the notification for the bucket.

* First configuring "Set notification for bucket", select the name of the queue you just created and the name of the bucket you want to subscribe to and click "Submit". A message indicating successful submission will appear on the screen.
* Then set "Get Storage Notification", select the name of the storage and click "Submit" to get the notification event of this storage and display it on the screen.
### Get queue messages
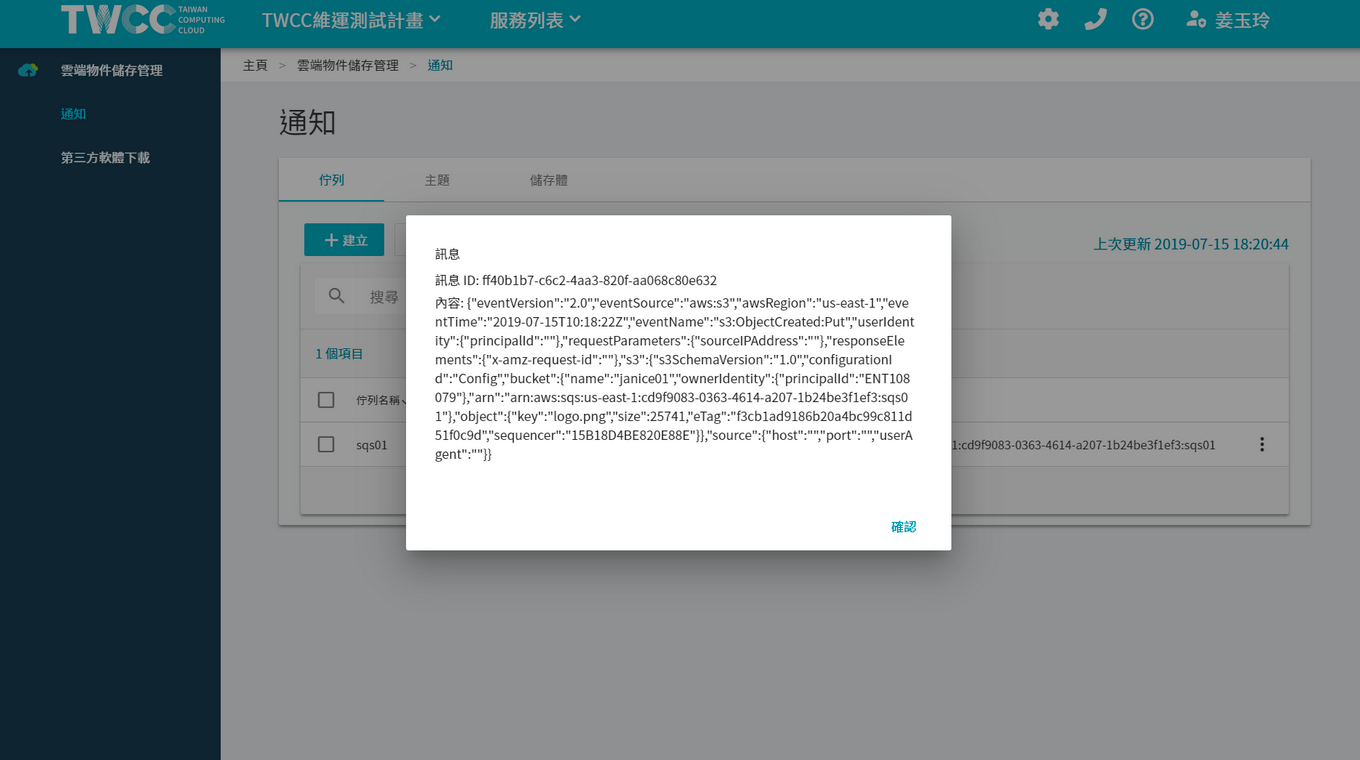
* After setting the queue notification, once the storage event has occurred, you can get the event message from the menu button at the back of the queue list and click "Get queue message".
* Please note: After the queue event is received, the system will automatically remove the event, please copy and save this message.
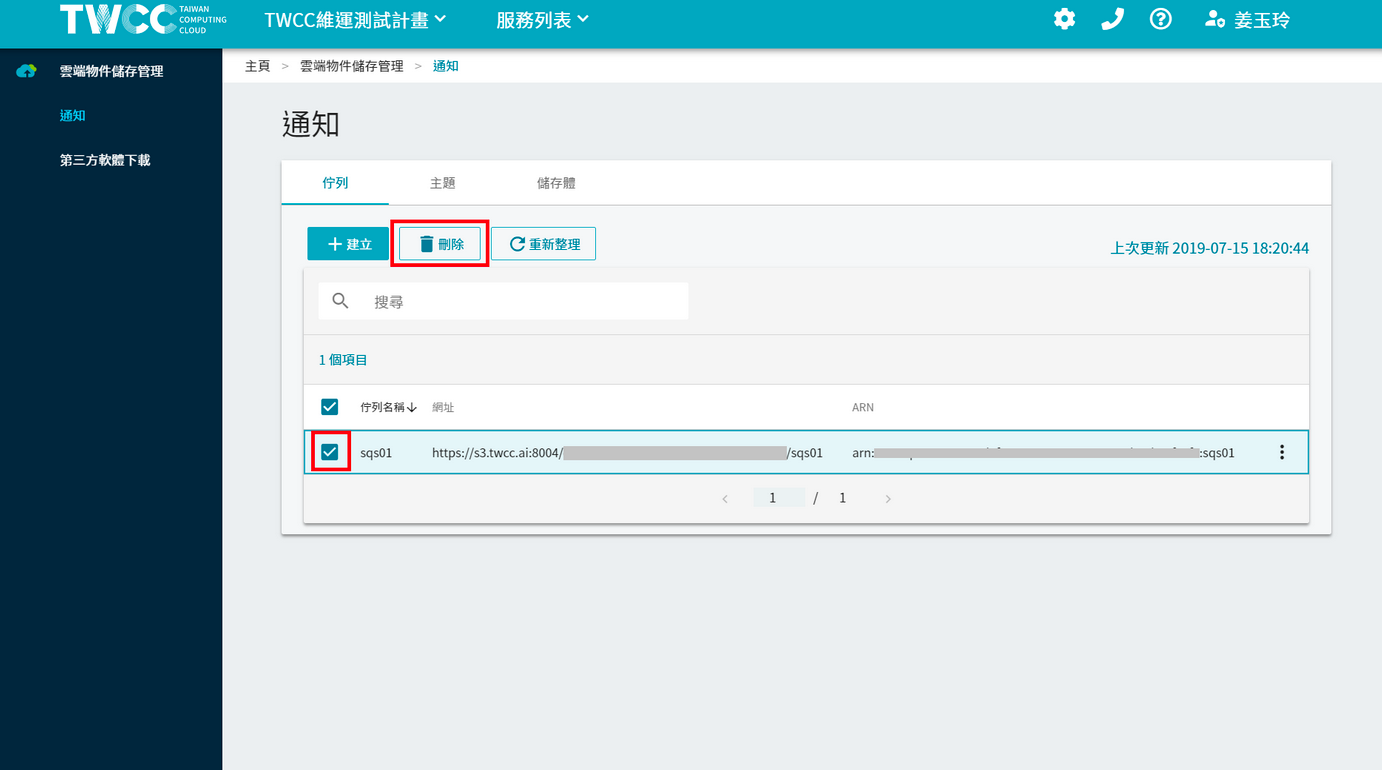
### Delete queue
* Click on the checkbox in front of the list and click "Delete" to delete this queue.
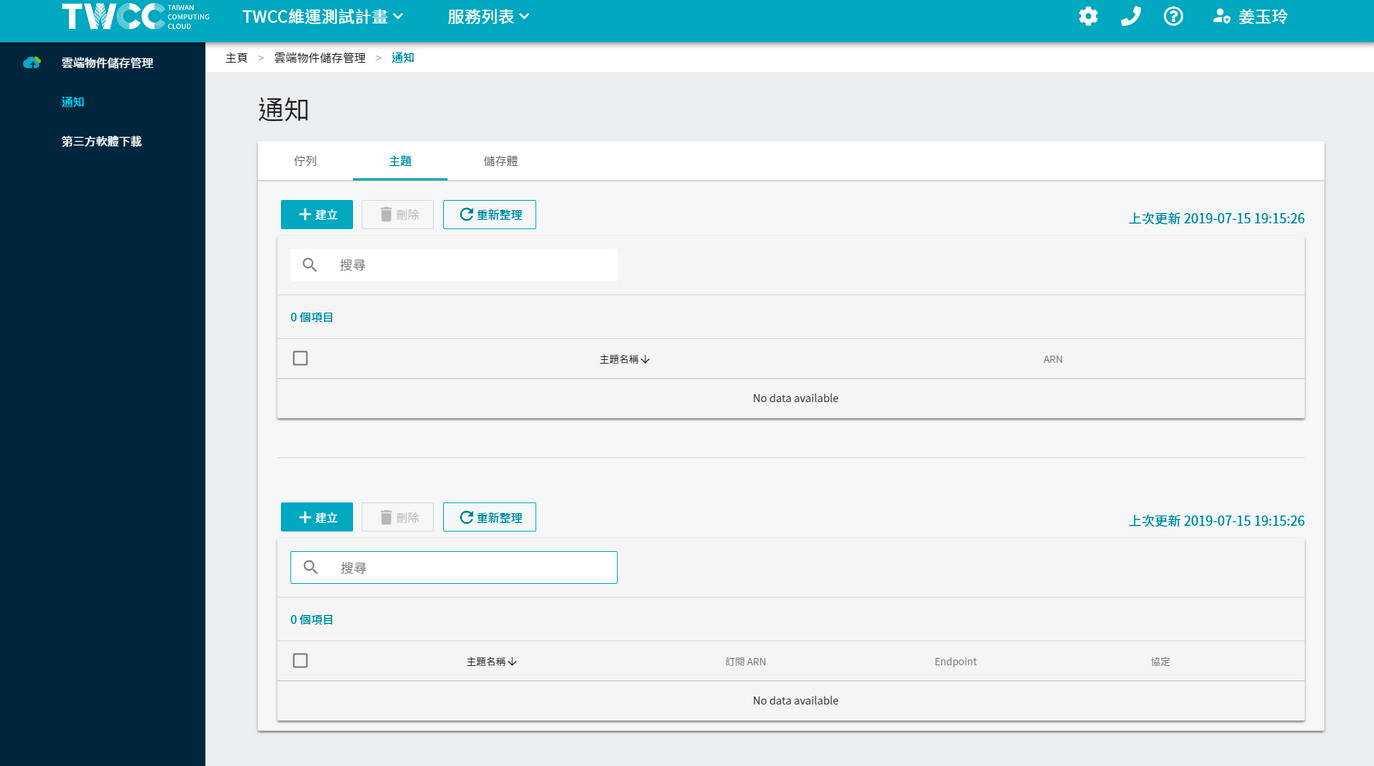
### Create a topic
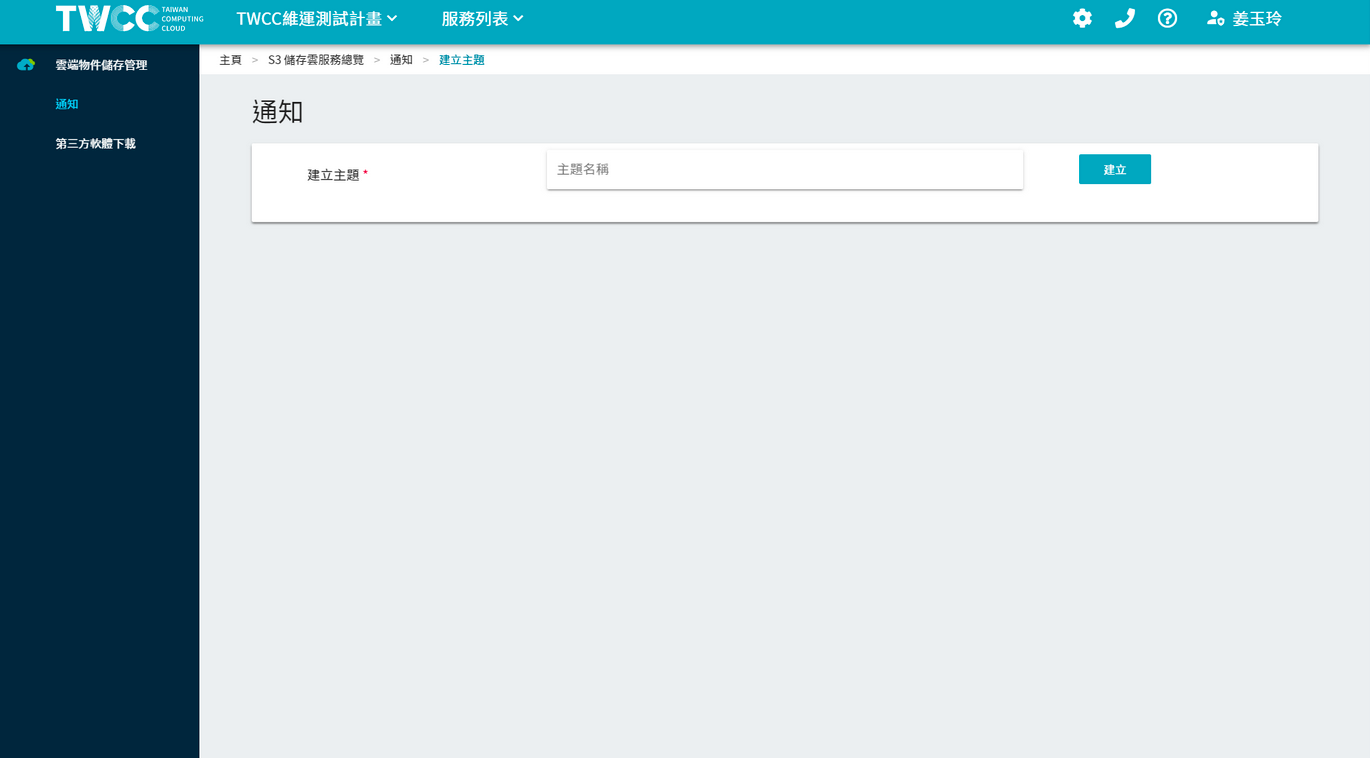
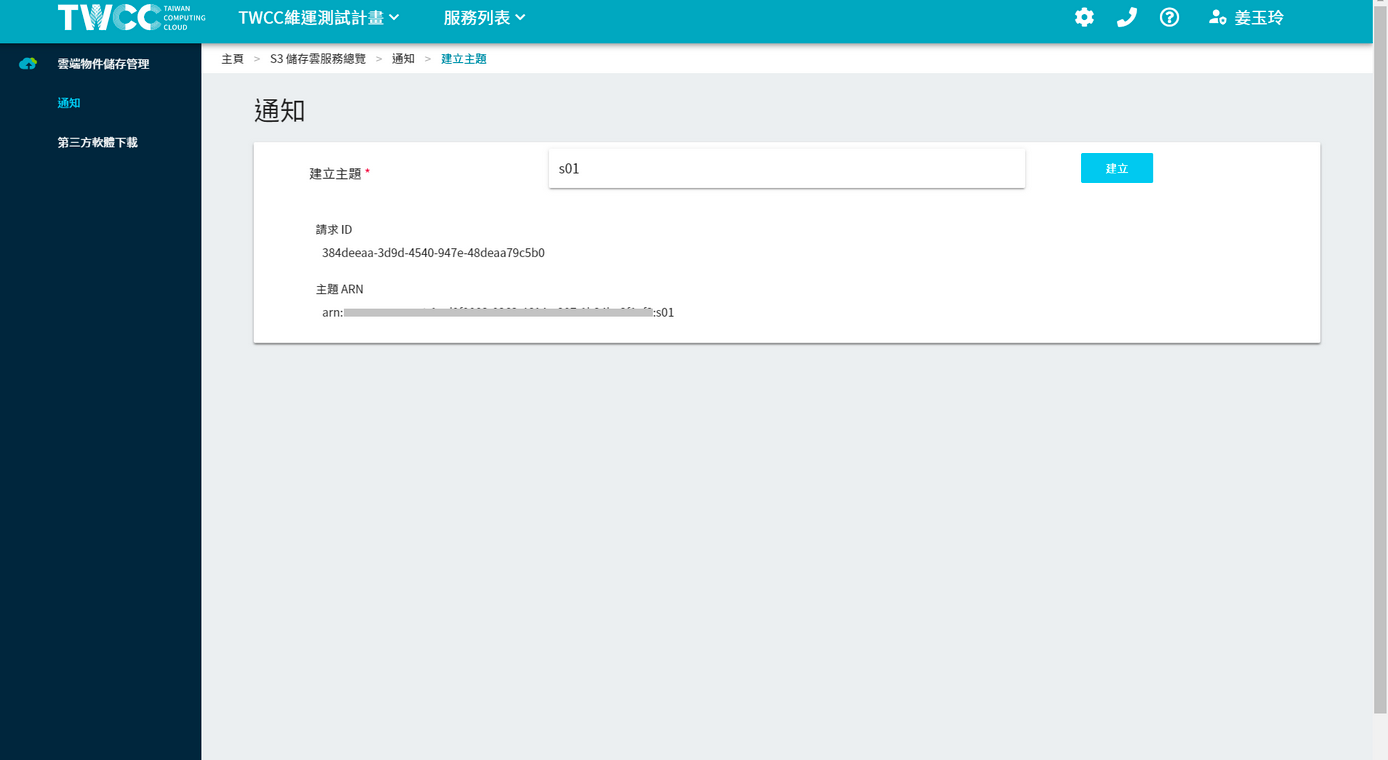
* Go to the notification topic page of the Cloud Object Storage Service and click "Create".
* Enter the subject name and click "Create".
* Once the topic is created, you will see the request ID and topic ARN appearing below.
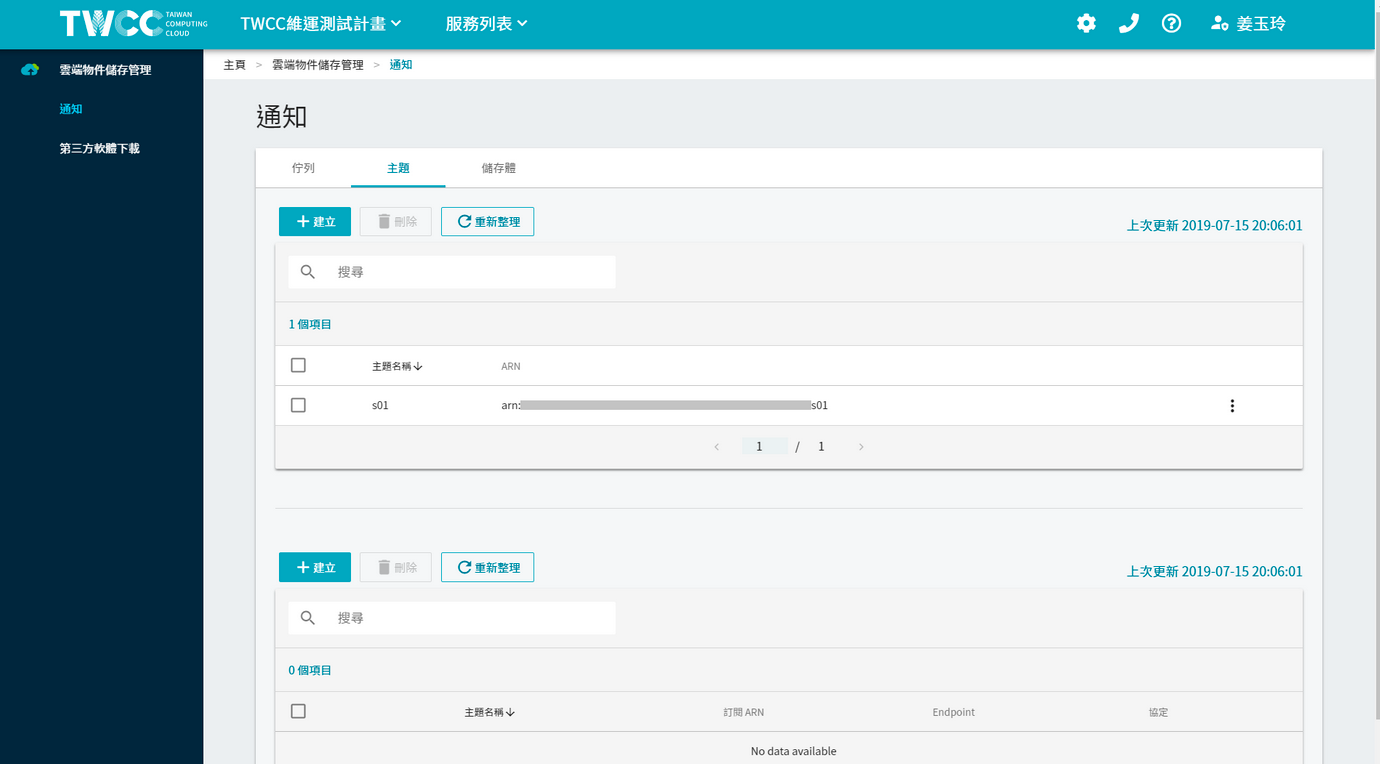
* Click on "Notifications" on the left and click on the topic page of the notification. The newly created topic will appear at the top of the list.
* Then click the "Create" button at the bottom of the screen to create a subscription.
### Create a subscription
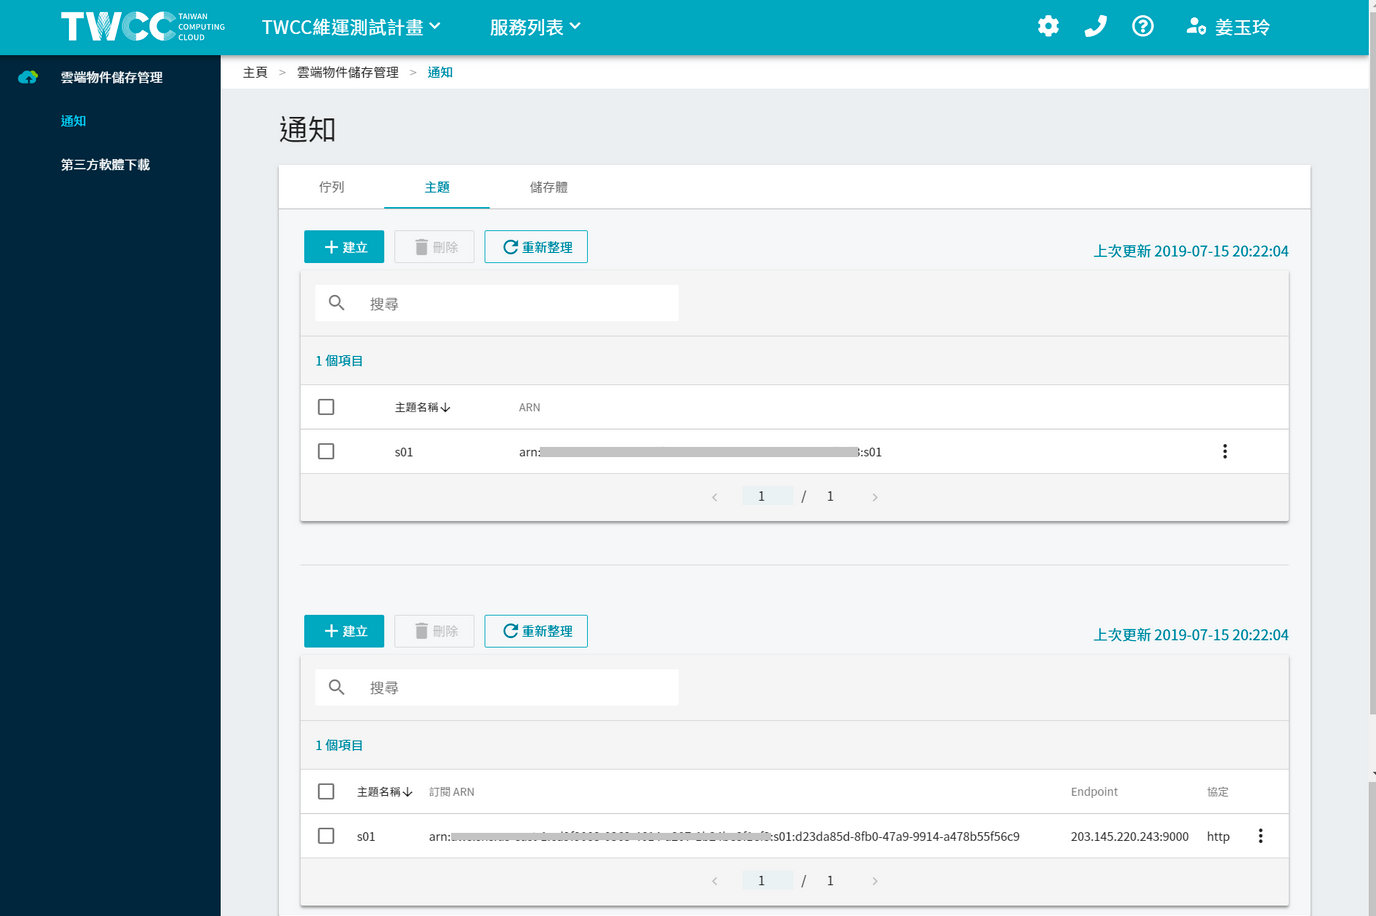
* Select the protocol, fill in the URL of the subscription notification and the subject ARN, and press the "Subscribe" button.

* The request ID and subscription ARN will be displayed below the subject subscription.

* Back to the topic list page, the newly created theme and subscription items will appear at the top of the list.
### Associate bucket
* Then click "bucket" to set the notification for the bucket.
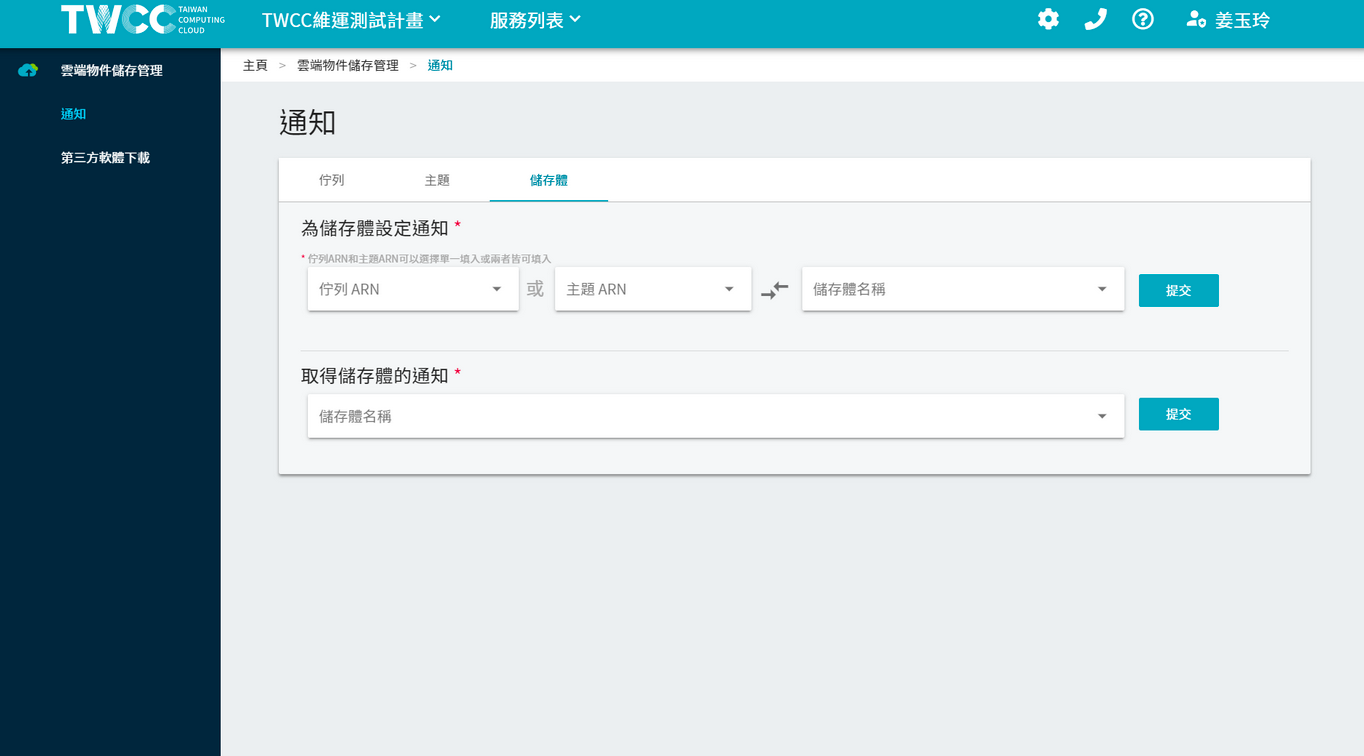
* First set "Set notification for bucket", select the newly created topic ARN and the name of the bucket to be subscribed, and click "Submit". A message indicating successful submission will appear on the screen.
* Then set "Get Bucket Notification", select the name of the bucket and click "Submit" to get the notification event of this bucket and display it on the screen.

### Delete topic
* Click the checkbox in front of the topic list and click "Delete" to delete this topic.

### Deleting a subscription
* Click the checkbox on the subscription list and click "Delete" to delete this subscription.
 -->
## Third-party software
Users can also manage the files in buckets through commonly used third-party software such as [S3 Browser](http://s3browser.com/) or [Cyberduck](https://cyberduck.io/).
### S3 Browser
:::info
* S3 Browser is a simple and easy to use Amazon S3 Windows client that provides a simple web service interface to store and retrieve data from anywhere on the web.
* The S3 Browser Free Edition is for non-commercial use only. For details, please refer to [S3 Browser official website](http://s3browser.com/).
:::
* Go to [S3 Browser official website](http://s3browser.com/) and click "Download S3 Browser" to download and install S3 Browser.
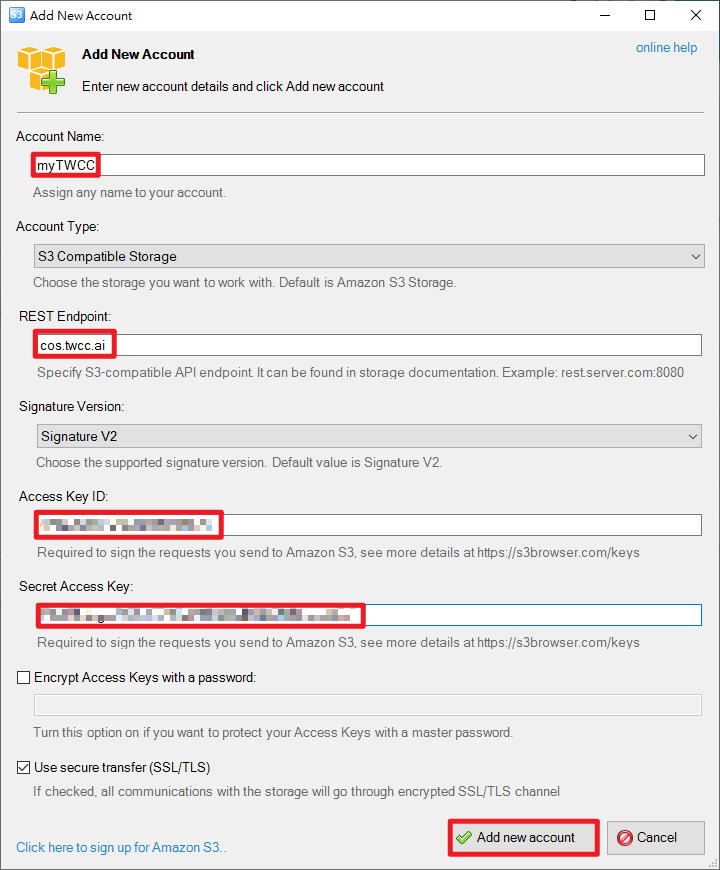
* After installation, open S3 Browser, set the connection information of TWCC cloud object storage account, Account Type must select "S3 Compatible Storage", and then set the REST Endpoint according to the connection information provided by the third-party software download page (cos.twcc .ai), Access Key and Secret Key.
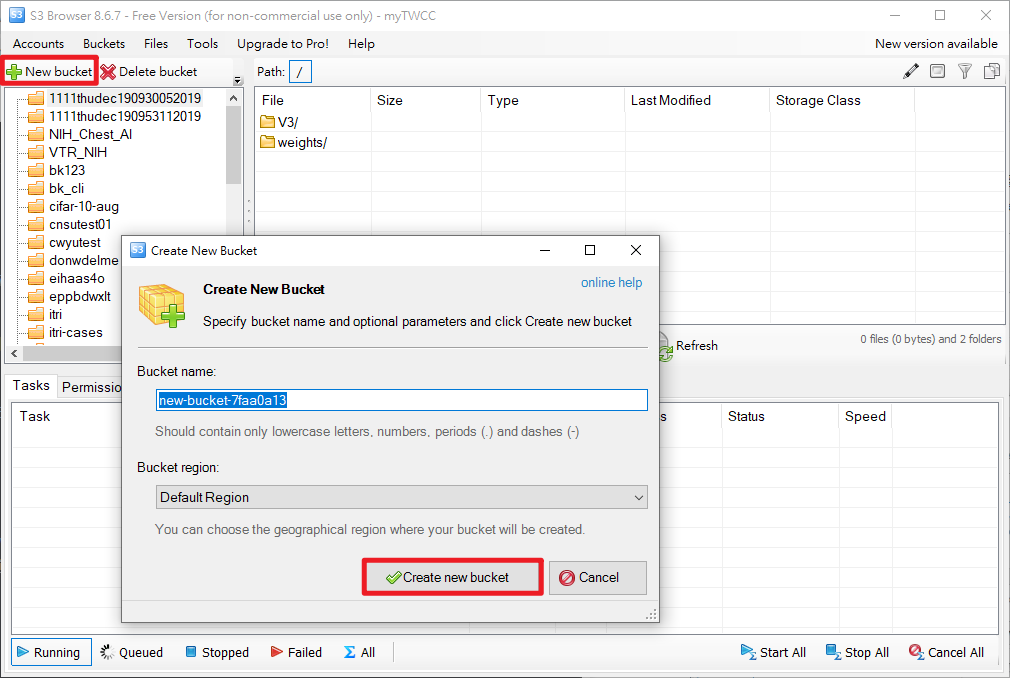
* After the connection is successful, you can see the files of the bucket on the TWCC cloud object storage system, and you can also create new buckets through the S3 Browser.
* Click “New Bucket” in S3 Browser, then enter the name of the TWCC bucket to be created in the Create New Bucket window, and then click “Create new Bucket”.
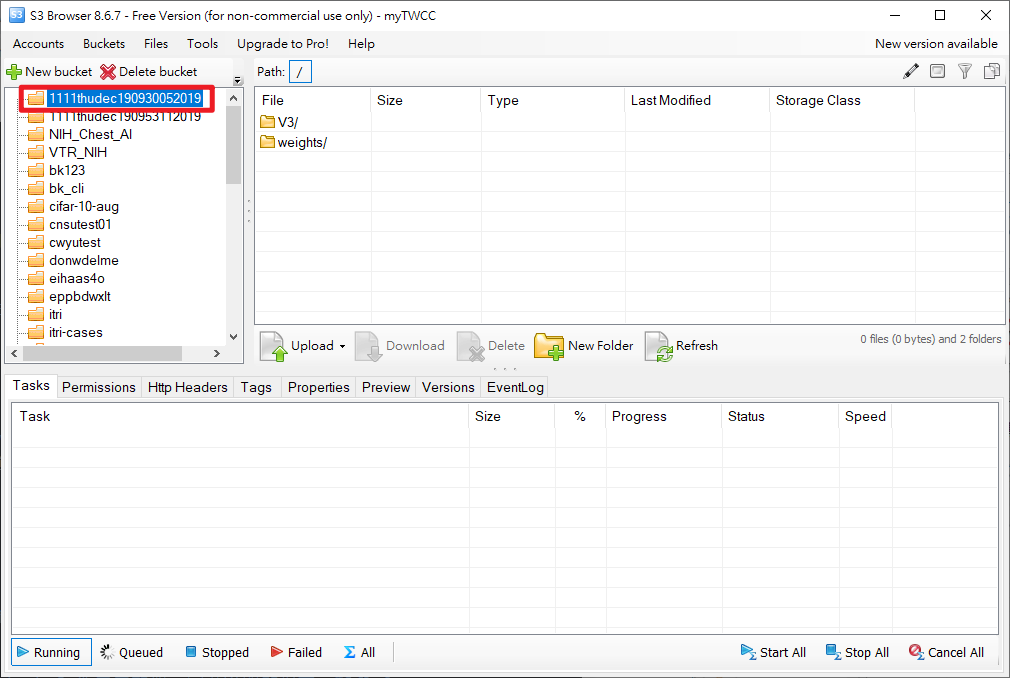
* Click the bucket on the left to upload or download the file.
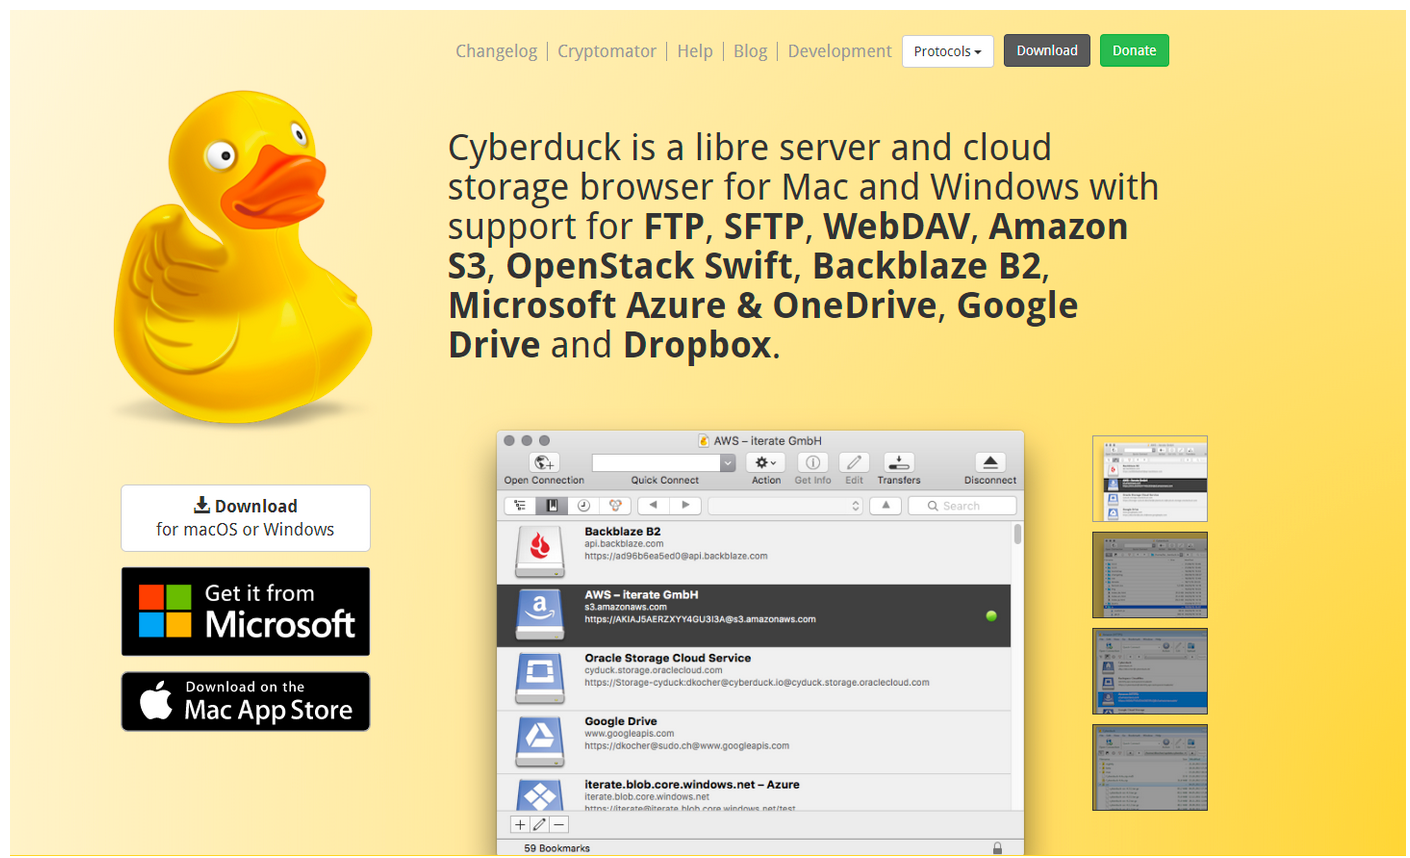
### Cyberduck
:::info
Cyberduck is a file transfer tool for Mac and Windows. It can also be used to manage the files of cloud object storage and quickly transfer and browse files on the local and remote hosts.
:::
* Go to [Cyberduck's official website](https://cyberduck.io/) to download and install.
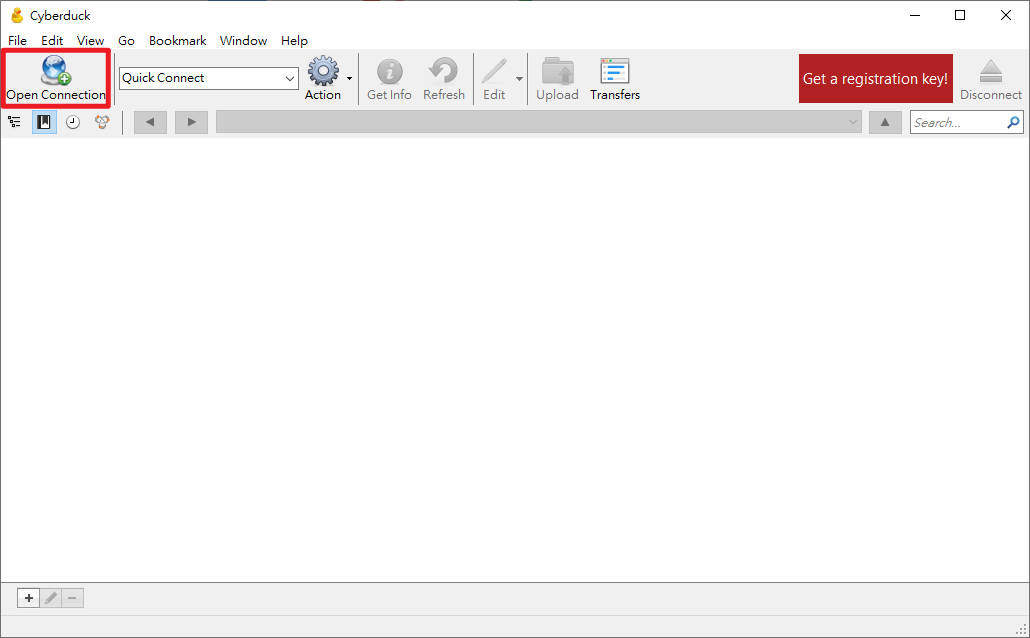
* The Cyberduck user interface for Mac or Windows is similar. Open the program after installation and click Open Connection.
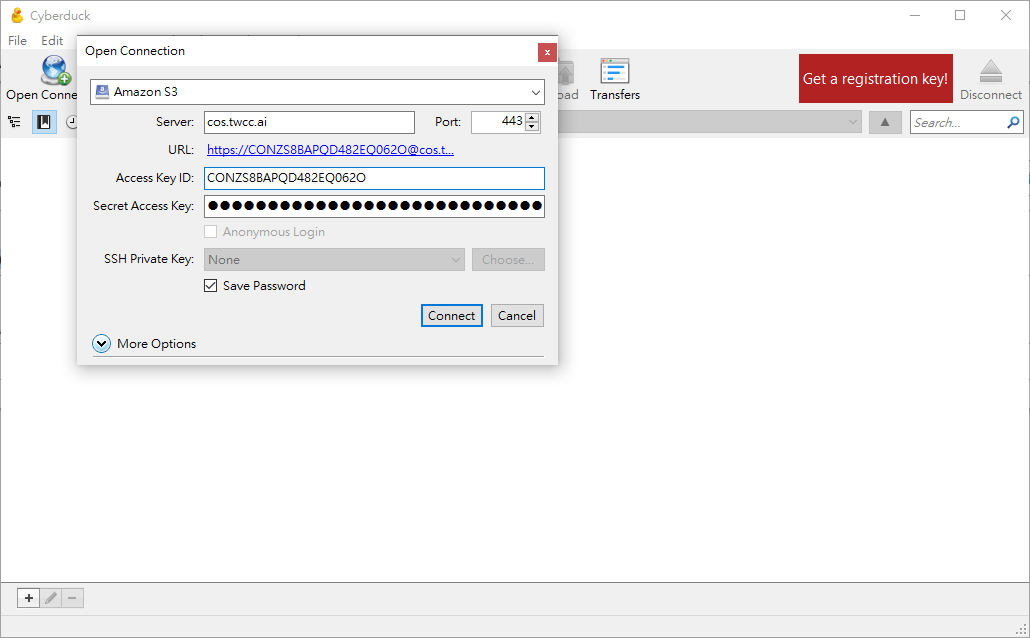
* As shown in the figure below, set the connection information of the TWCC cloud object storage account. The host type of the connection must be "Amazon S3", and then follow the connection information provided by the third-party software download page to set the server (cos.twcc.ai), Access Key ID and Secret Access Key.
* After the connection is successful, you can see the files of the bucket on the TWCC Cloud Object Storage, or create a new folder (storage) or upload a file.
